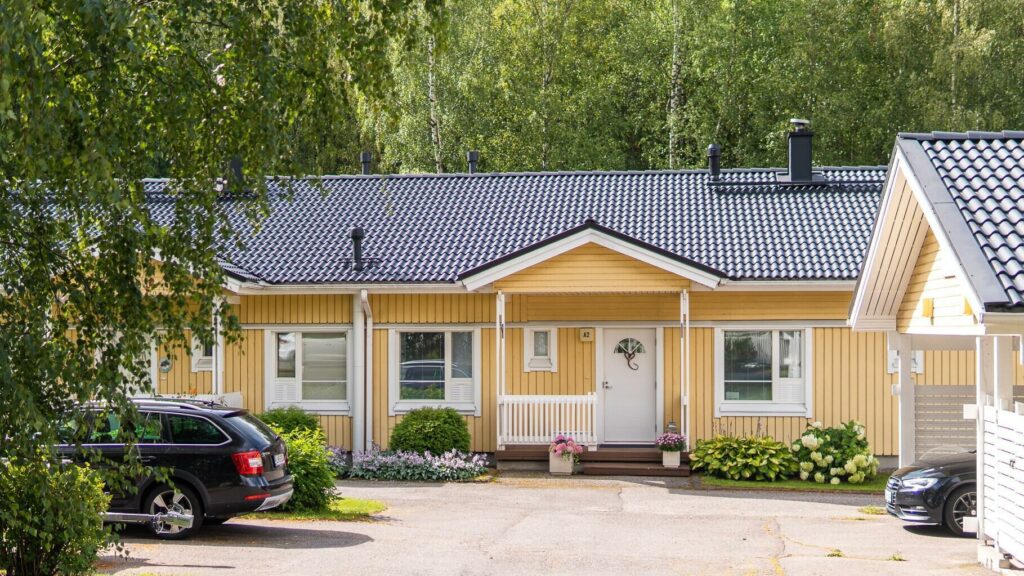
Exterior House Painting: 5 Common Pitfalls – and How to Avoid Them
Väriset
11.02.2020
Exterior house painting isn’t rocket science and can be done successfully by a DIY painter. However, there are a few situations where DIY painters easily go wrong, which can jeopardize the entire painting project. We’ve compiled a list of the danger zones in house painting and gathered tips on how to avoid them. If you’re planning to paint your house exterior, take these professional tips to heart, and your house painting will go smoothly!
1. Choosing the Wrong Paint
It’s probably no surprise to anyone that choosing the right type of paint is important when doing exterior painting: you shouldn’t just pick up any paint that looks nice from the store. Not all paints are suitable for painting over each other. In the worst case, the exterior siding will need repainting the very next summer when the new paint layer doesn’t adhere to the old paint due to incompatible paint.
The paint you choose for exterior house painting also affects the working methods and available materials, so the paint selection should be done carefully. Read more about choosing the right paint in our article Exterior House Painting – How to Hit the (Right) Mark.
You can paint over oil-based paint with water-based paint, but not vice versa.
How Is the Problem Avoided?
Most commonly, you choose the same type of paint that was previously used on the house. If the previous paint is unknown or you want to change the paint type for another reason, it’s good to remember the following basic rule: you can paint over oil-based paint with water-based paint, but not vice versa.
However, there are a few exceptions that require extreme caution.
For example, an exterior wall painted with petroleum oil paint should always be maintained with corresponding petroleum oil paints. Over boiled paint – most commonly red ochre paint – you can only paint with boiled paint.
If the house maintenance book lacks information about previously used paint, the paint must be identified from the house wall. Many paint manufacturers’ websites offer tips for identification.
If your own assessment is uncertain, you can take a piece of loose paint or a section of exterior siding to the paint store for consultation. At Väriset, we use laboratory testing if the nature of the old paint doesn’t otherwise reveal itself.
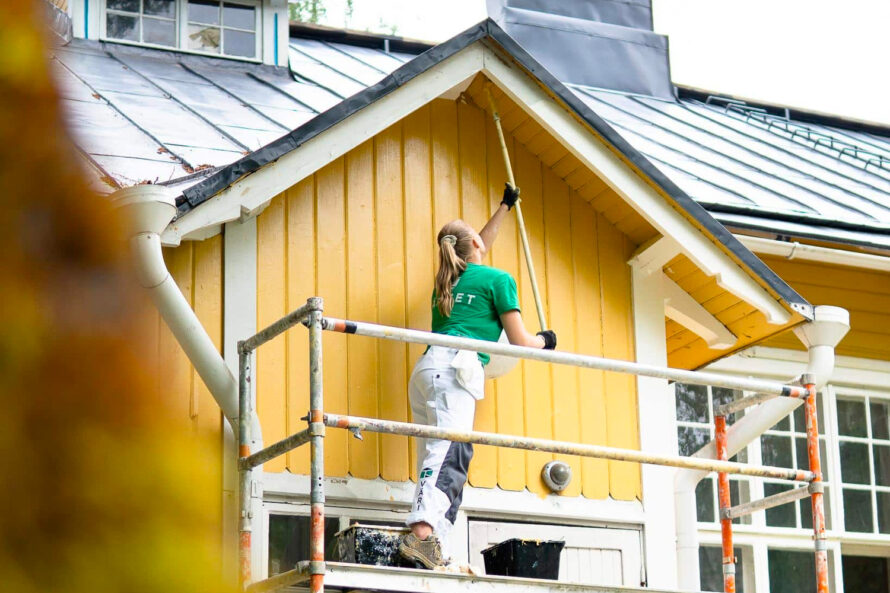
2. Careless Surface Preparation
When exterior house painting is due, it might be tempting to take a shortcut: how easy and quick it would be to just grab a brush! However, rushing headlong into painting isn’t advisable, because even the best paint won’t adhere properly to a poorly prepared surface. Surface preparation could be mentioned as the most important work phase in an exterior wall painting project. When you do the surface preparation for exterior house painting properly, you can enjoy the beautiful paint finish for much longer. You’ll also save money when the new paint layer lasts as long as possible. Patience is key.
What’s the Right Way to Proceed?
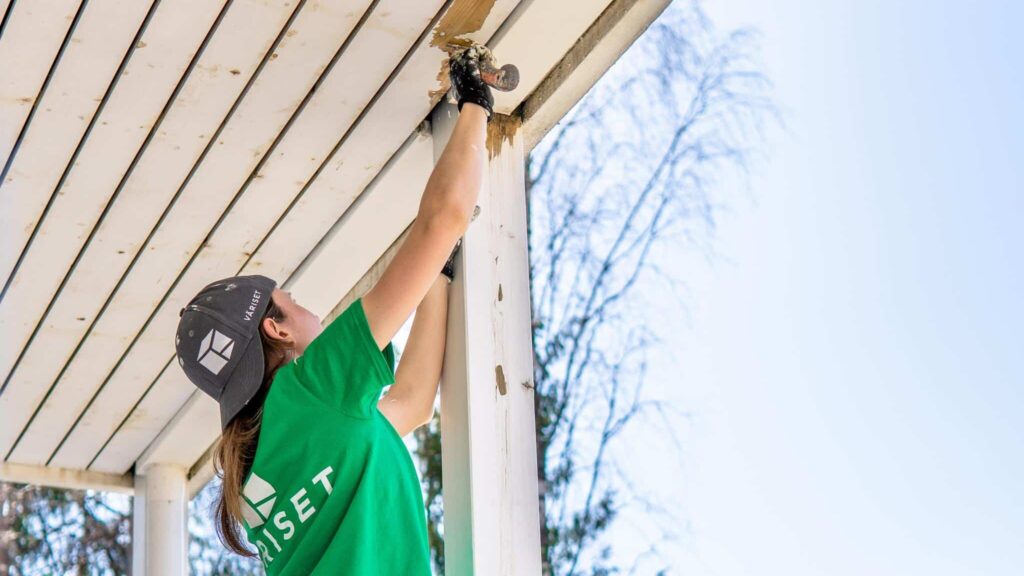
Before actual surface preparation, it’s worth examining the entire exterior siding to check for rotten or otherwise damaged wood parts. If found, they should be replaced before starting the painting work.
If dirt doesn’t come off the wall with just a brush, water and painting detergent can be used.
The first part of actual surface preparation for exterior wall painting is cleaning the surfaces to be treated. If there’s mold on the wall, mold washing is absolutely necessary. If mold is left under the new paint layer, it will continue growing there and eventually push through the new paint. Mold also weakens the adhesion of new paint to the substrate.
If there’s no mold on the walls, dry brushing is usually sufficient to remove dust and other dirt from the wall. If dirt doesn’t come off the wall with just a brush, water and painting detergent can be used.
However, after water washing, the surfaces to be painted must be allowed to dry thoroughly. Sometimes there’s resin at knot locations, which is removed by scraping.
After cleaning, poorly adhering old paint must be removed. You don’t need to remove all paint – old paint that’s still firmly attached to the wall can safely remain in place. Everything else is removed.
All parts cleaned down to bare wood are primed. The choice of primer depends on which paint has been selected for the topcoat. Primer penetrates the wood surface, creating an optimal base for the actual topcoat to adhere to.
3. Poorly Timed Painting Weather
Many ruin their painting project with the wrong weather conditions. Damp painting surface, rain, evening moisture, or hot sunshine are all factors worth avoiding.
The optimal painting time is traditionally from May Day to Midsummer.
What’s Good Painting Weather?
The best weather for painting exterior walls of a detached house is warm overcast weather. The air temperature must be at least +5 degrees, often +10 degrees for oil paints, and the relative humidity below 80 percent. This is so the paint dries evenly and completely.
In hot and very sunny weather, it’s best to paint on the shaded side, because in hot weather the paint dries too quickly and may either adhere poorly or become uneven.
The optimal painting time is traditionally from May Day to Midsummer, when air humidity is still lower than in late summer.
You can certainly paint in late summer and even in fall, as long as you ensure the paint surface has time to dry before evening moisture sets in.
In Finland’s variable summer conditions, you often have to paint in borderline weather out of necessity. Professional painting work always comes with a warranty regardless of conditions. Weather conditions and their effects don’t affect our exterior painting price – even if rain surprises you, you don’t need to worry about increasing costs.
4. Inadequate Protection and Insufficient Masking
It’s easy to underestimate the importance of protection when painting exterior walls. However, few things are as frustrating afterward as paint splatters where they don’t belong.
The painting project also quickly becomes more expensive when the deck needs replacing because cleaning agent ruined it, or when the car needs repainting due to paint splatters.
How Is the Problem Avoided?
Protect more rather than less. Pay attention to, for example, windows, plants next to the house, the deck, and nearby cars or other property.
If splatters occur, wipe or wash them off immediately while fresh. The exception is paint splatters on windows, which come off best when dry.
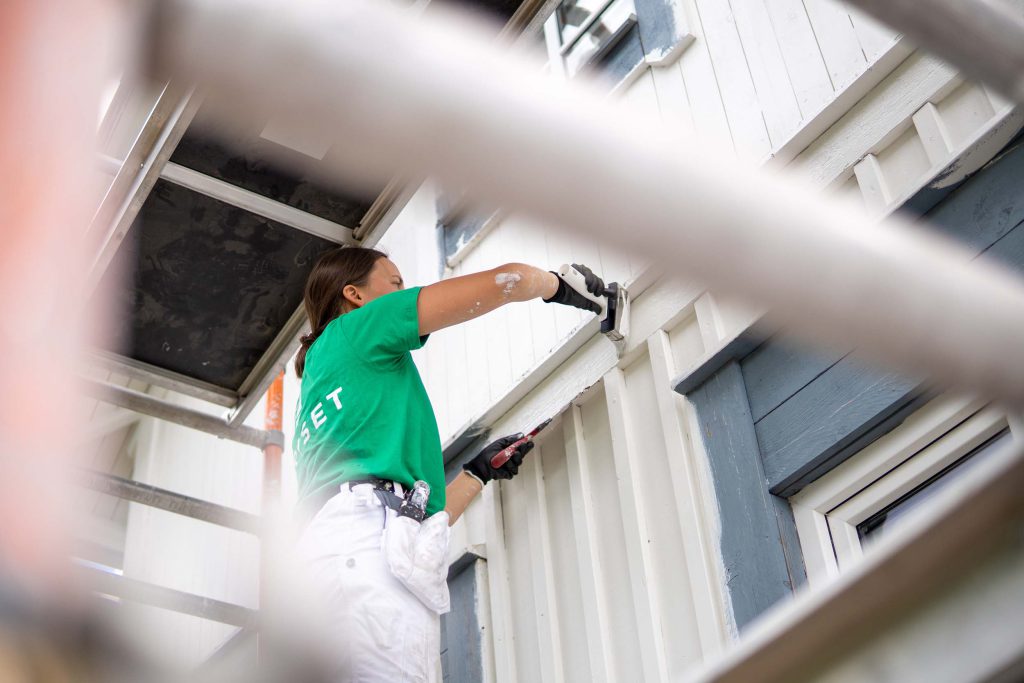
Similarly, take care with masking when painting more precise areas. The paint finish on precise areas easily reveals that a DIY painter was at work if sufficient care isn’t taken.
Many DIY painters use tape as a masking aid, which is indeed helpful for interior painting.
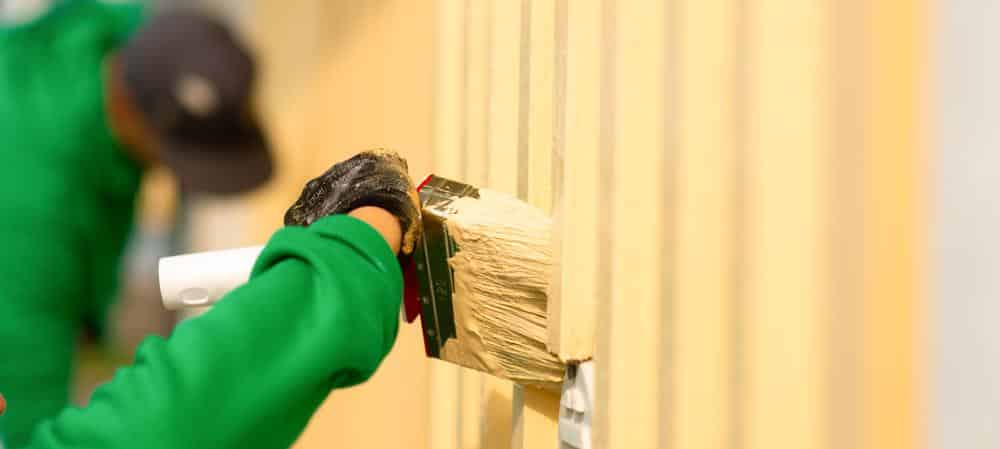
Tape also works for exterior painting, but from a professional’s perspective, it’s somewhat inefficient. The most important tool for successful masking is a quality brush with optimal stiffness and a properly thinned bristle tip.
With the right kind of brush, you can make clean edges smoothly with a free but steady hand. An excellent tool is also, for example, a thin metal putty knife that can be pushed under the surface being painted when painting window frames or corner boards.
5. Forgetting to Plan
An important part of executing exterior wall painting is careful planning of the work, which an inexperienced house painter easily overlooks. Failing to plan can create a lot of unnecessary work and extra headaches, so it’s worth spending a moment planning the project before starting.
Because moving scaffolding is laborious and time-consuming, it’s always easier if you can proceed one wall at a time.
What Should Be Considered?
When you’re planning exterior house painting, go through the project in your mind or on paper and consider what stages it includes and what would be the most sensible way to proceed. It was already mentioned that the first actual work phase in a painting project is surface preparation.
However, whether you should do the surface preparation for the entire house first and only then move to topcoating, or whether you should proceed one wall at a time from start to finish before moving to the next wall, is a separate matter.
Because moving scaffolding is laborious and time-consuming, it’s always easier if you can proceed one wall at a time. This works when the surface preparation is minimal and you’re painting with water-based paint that dries quickly.
Factors affecting planning also include the type of scaffolding used, available time, obstacles around the house that slow movement, whether a lift is needed, and all house-specific features.
If you’re painting accent colors on, for example, window frames, eaves, or corner boards in addition to exterior walls, it’s good to think ahead about the order in which these are painted. In practice, this is a matter of preference, but for smooth progress it’s worth deciding in advance.
A large part of planning is considering the available time. It may be difficult to grasp how long each work phase takes or how much you can paint in one day.
However, it’s good to make some kind of progress plan and try to always complete one whole section before the day ends.
An important thing to consider is of course the weather. It’s worth following forecasts during the project so you can make changes to the plan if necessary or implement a backup plan.
Read our customers’ experiences with exterior house painting and request a free estimate visit here – we’ll assess your home’s exterior surfaces, recommend appropriate measures if needed, and calculate a quote for you.
Fall in love with your home again – See our services
House Painting
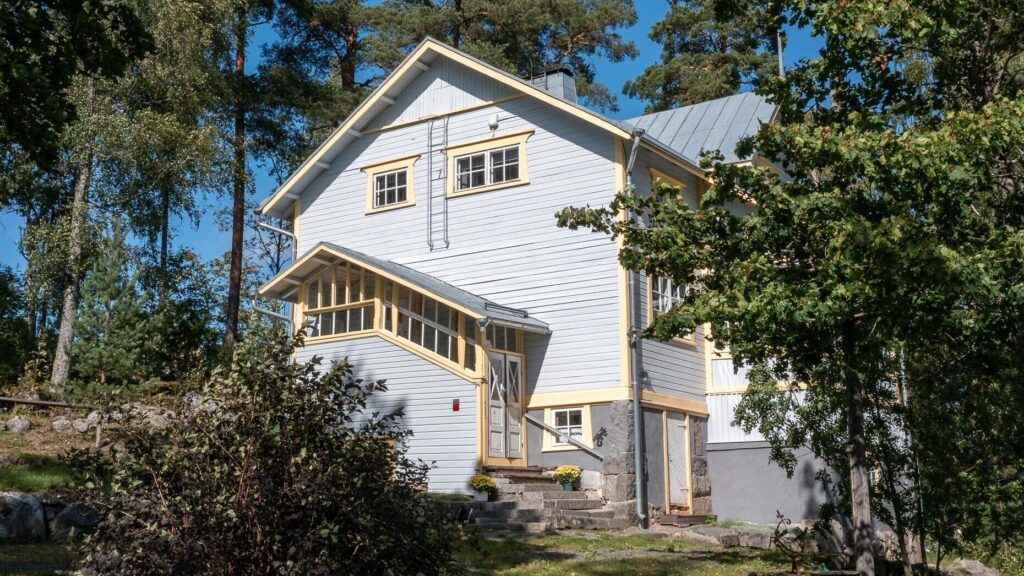
Fall in love with your home again - restore your home's appearance and value
Exterior house painting restores your home's appearance and value. Flawless workmanship is of utmost importance to us. We always ensure that the final result is even and perfectly finished.
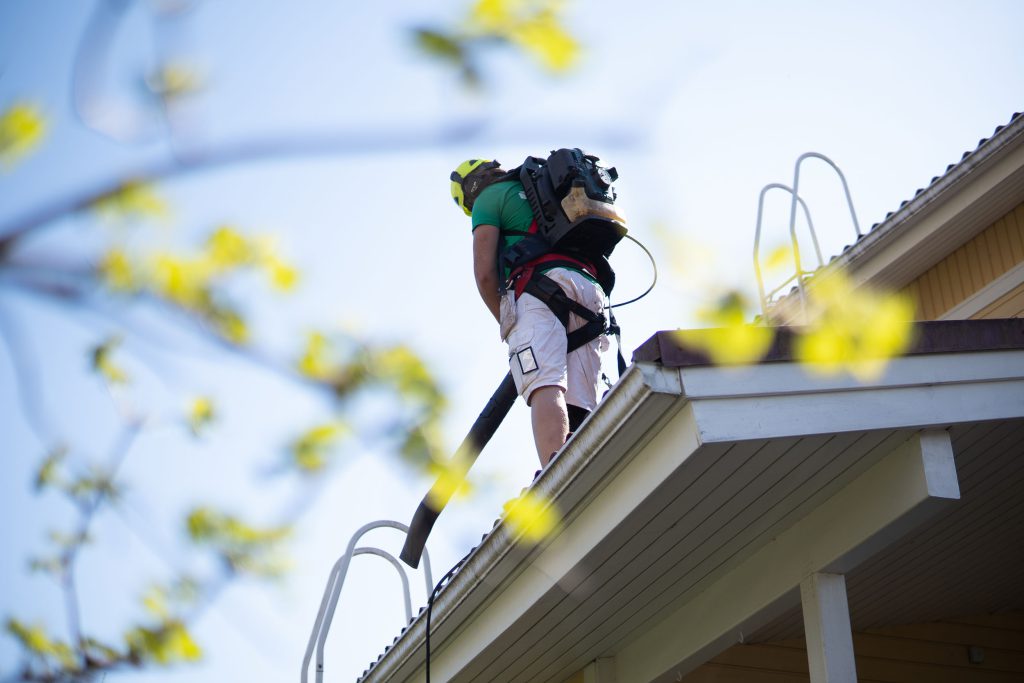
Timely roof maintenance extends your roof's lifespan by decades
An intact, maintained, and painted roof is every home's most important protection. Tile roof coating and maintenance services as well as metal roof painting services as turnkey solutions.
Take advantage of the household deduction – up to €3,200 benefit from the work. Try the calculator
The household deduction in 2026 is 35% of the VAT-inclusive portion of the work performed. The deductible is €150. The benefit is €1,600 per person, meaning the maximum deduction for a couple is €3,200 in total
Order a free survey visit to your home. You'll receive an assessment of maintenance needs and a quote for the work. Book a survey or calculate a price estimate with our calculator in just a few minutes.
Ostrobothnia, South Ostrobothnia, Central Finland, Central Ostrobothnia, North Ostrobothnia, Lapland, Kymenlaakso, Päijät-Häme, South Karelia, South Savo, Kainuu
Perttu Aunio
Regional Manager
Southwest Finland
Subscribe to the newsletter and win a roof maintenance service (value €349)
The Väriset newsletter provides home maintenance tips for homeowners, along with benefits and special offers. Subscribe to the newsletter and enter the monthly roof annual maintenance draw.
We operate throughout Finland
Shall we get started?
Ask for more information or request a quote. We'll respond by the next business day at the latest.